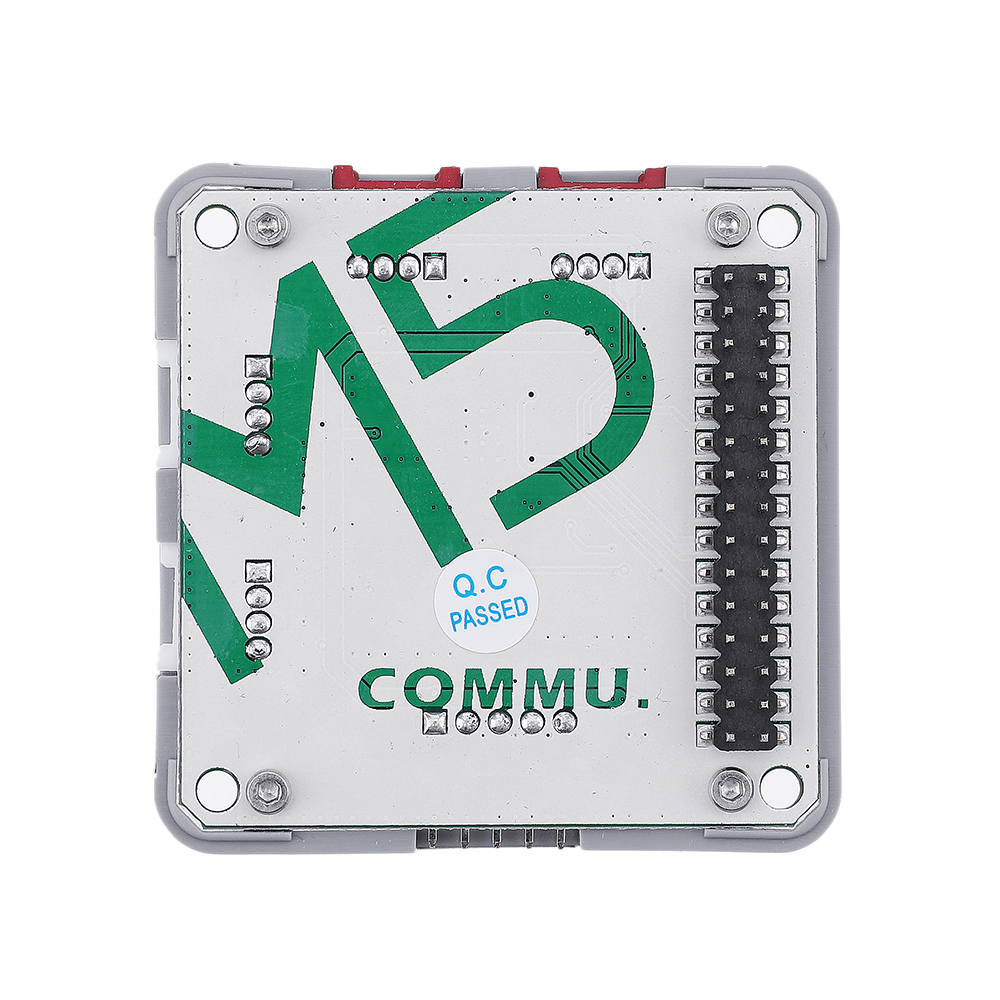
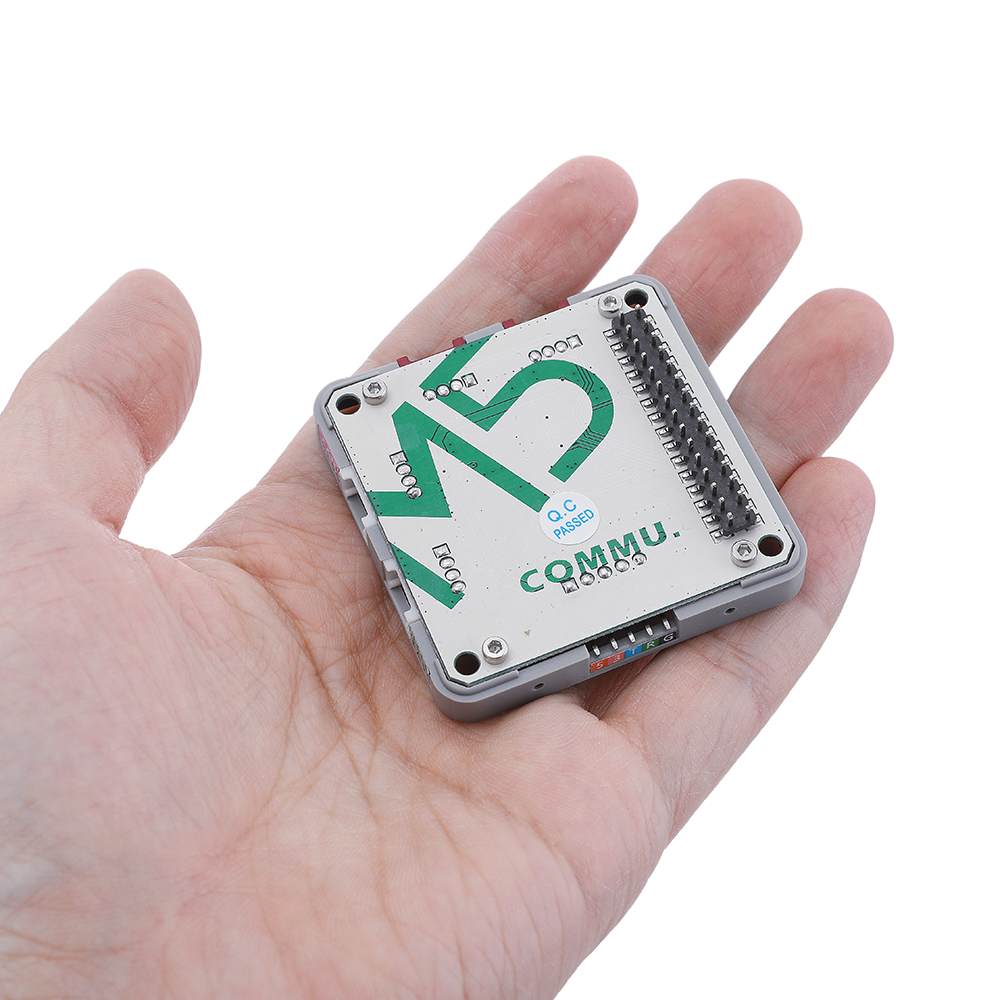
M5Stack® Wireless COMMU Module Extend RS485/TTL CAN/I2C Port with MCP2515 TJA1051 SP3485 Development Board for Arduino EP32 Kit
Description:
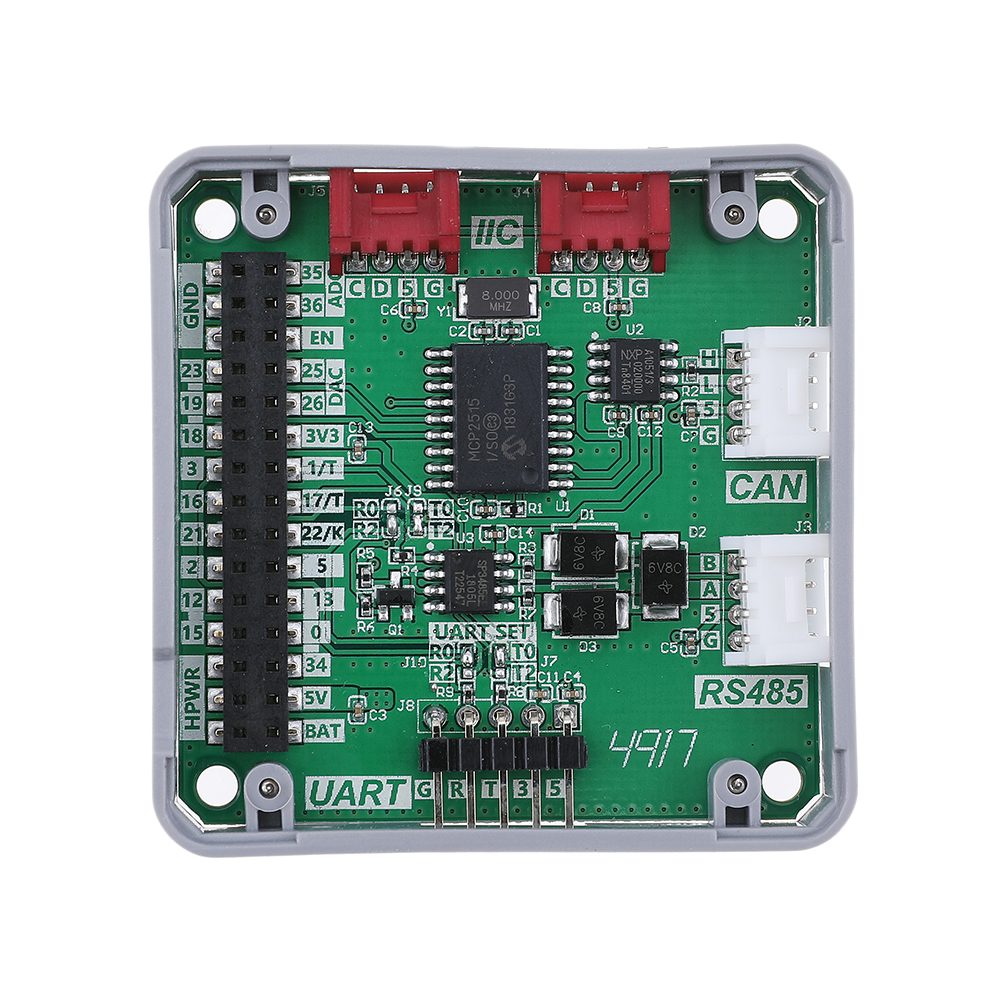
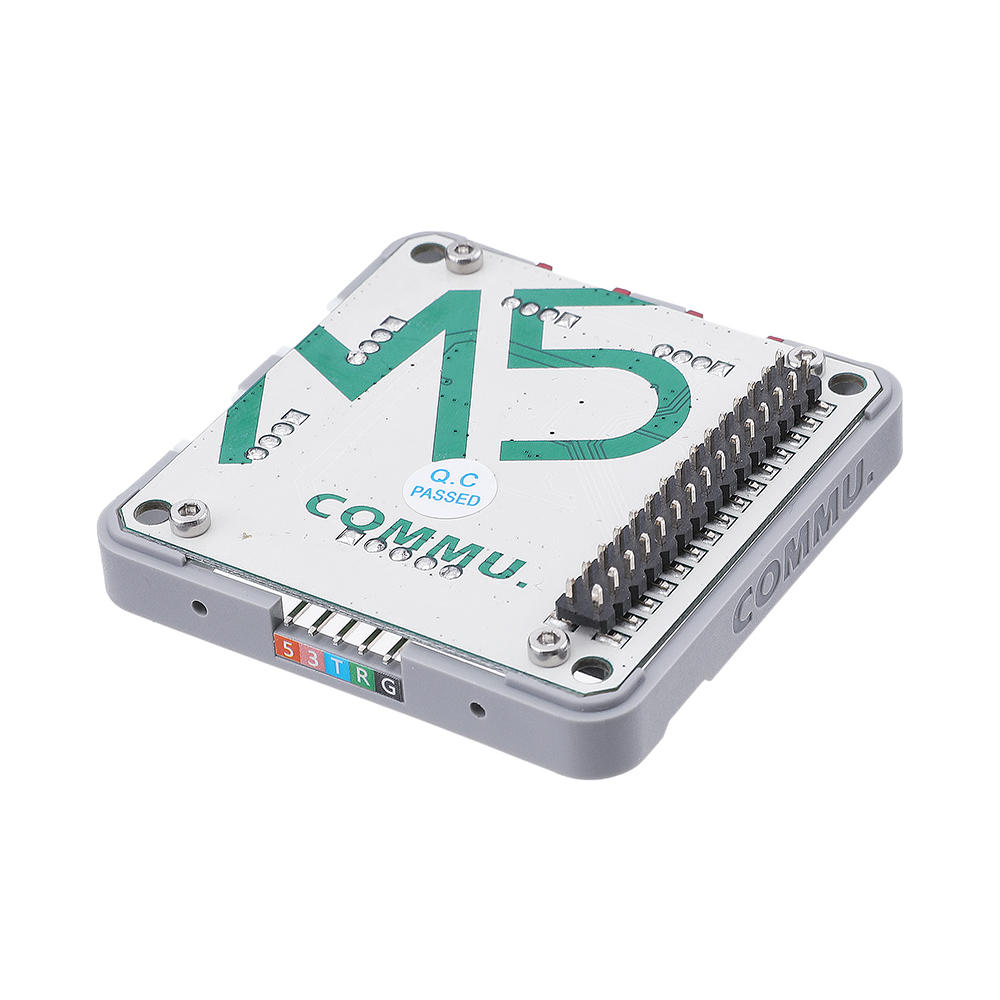
COMMU is a Muti-Communication-Interface-Converter. Integrated with 2IIC, 1TTL, 1CAN, 1RS485. Apparently COMMU has packed with most of series communications.
Default connection: TTL - UART0, RS485 - UART2. Since ESP32 pin map is allowed for re-assign, you can re-assign or re-mapping the TTL or RS485 interface to other pins.
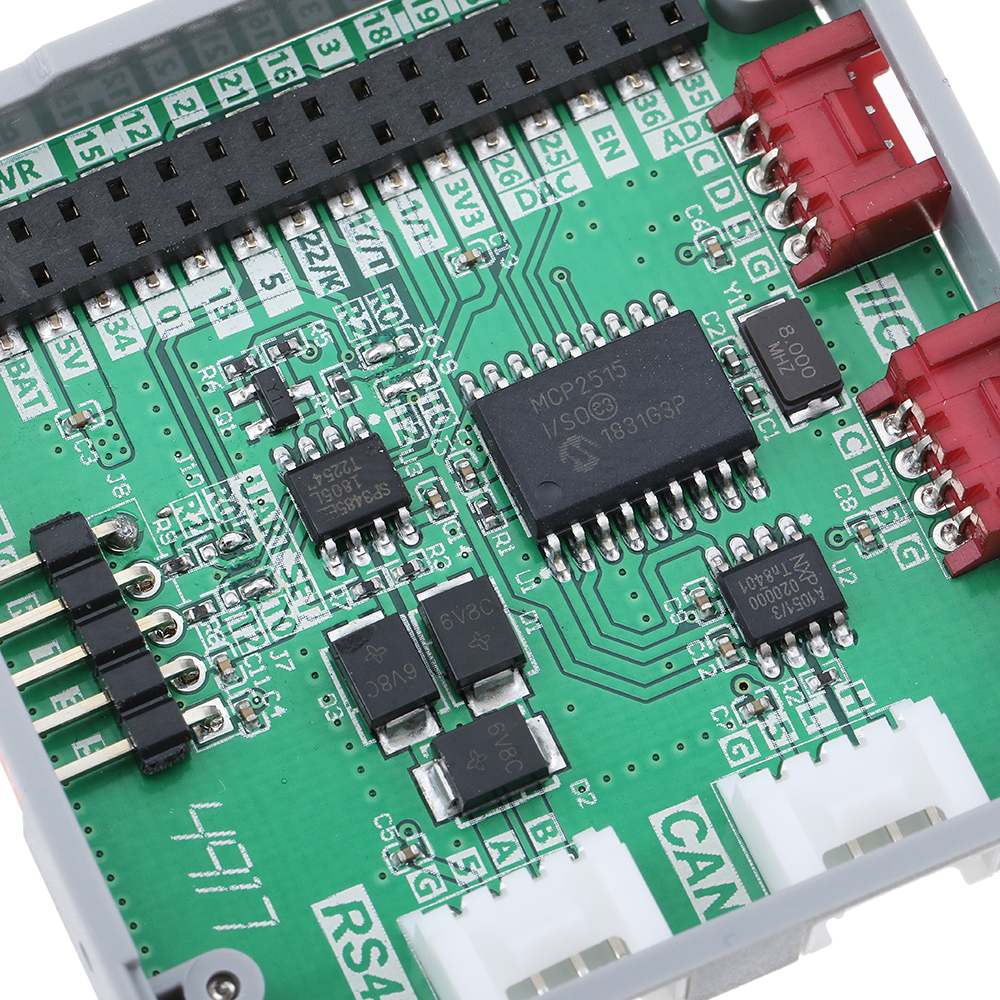
Be care about TTL Interface. It is a UART Interface actually by default. But you can switch it to connect with UART2 after changed those jumpers(J6, J7, J9, J10).
Product Features:
- 2x I2C Interface
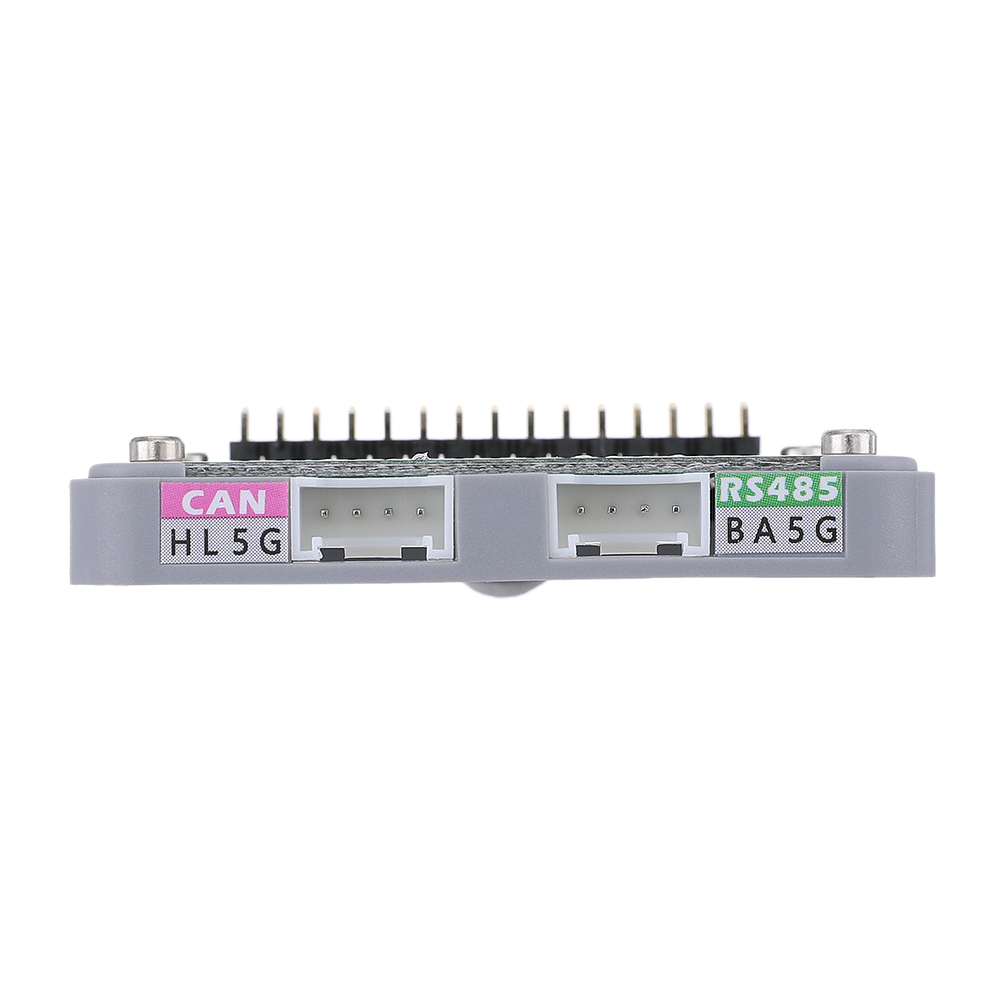
- 1x CAN Interface
- 1x RS485 Interface
- 1x TTL Interface
- CAN controller: MCP2515-1/SO
- RS485 Transceiver: SP3485EN-L/TR
- Product Size: 54.2mm x 54.2mm x 12.8mm
- Product weight: 13.5g
Package Included:
- 1x M5Stack COMMU Module
PinMap:
| CAN | ESP32 Chip |
|---|---|
| CAN_CS | GPIO12 |
| CAN_INT | GPIO15 |
| CAN_SCK | GPIO18 |
| CAN_MISO | GPIO19 |
| CAN_MOSI | GPIO23 |
| I2C Interface | ESP32 Chip |
|---|---|
| IIC_SDA | GPIO21 |
| IIC_SCL | GPIO22 |
Related Link:
Datasheet
EasyLoader

1.EasyLoader is a simple and fast program burner, and each product page has a product-related case program for EasyLoader.
2.After downloading the software, double-click to run the application, connect the M5 device to the computer via the data cable, select the port parameters, and click "Burn" to start burning.
3.The CP210X (USB driver) needs to be installed before the EasyLoader is burned. Click here to view the driver installation tutorial
Example:
for Arduino IDE
CAN communication
These are two COMMU examples for CAN communication, tansmitter and receiver. Press Button A to sent the message, and display the received message on the screen.
Step 1: Copy MCP_CAN_lib file to C:Users<user_name>DocumentsArduinolibraries, Step 2: Open project file commu_can_transmitter.ino, and commu_can_receiver.ino Step 3: Compile and upload the two project to two M5Cores separatly.
The below code is incomplete(just for usage). If you want the complete code, please click here.

RS485 communication
This is a COMMU example for RS485 communication.
Burn example to two M5Cores. Then after pressed Button A, this two cores will send message to each other and receive data.
