Electronic DIY LED Dimming Lights Series and Parallel Circuit Technology Small Production Kit

Description:
The purpose of the experiment:
1. Understand and recognize the light-emitting diodes and illuminate the light-emitting diodes (LEDs);
2. Understand the role of understanding resistance, series and parallel resistance;
3. Understand the self-locking switch;
4. Understand and recognize adjustable resistors and use adjustable resistors;
Experimental steps:
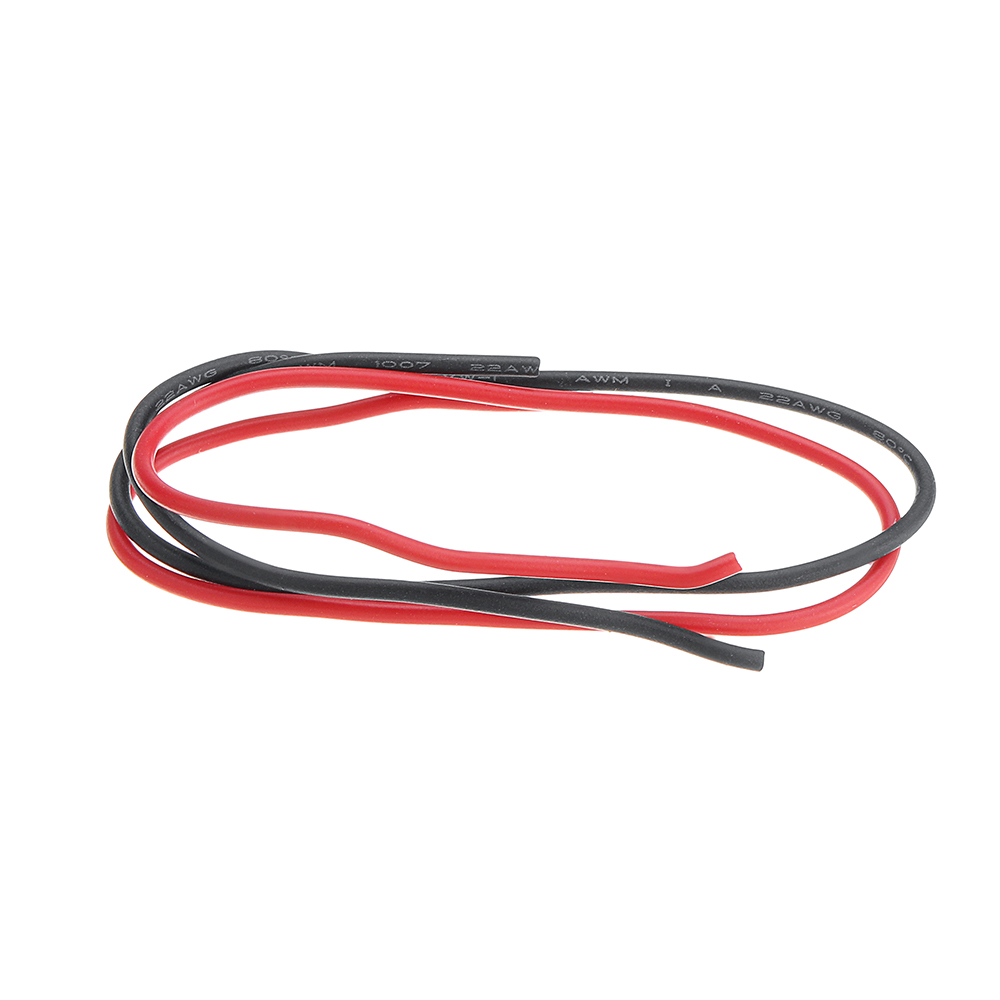
Step 1: The long leg of the light-emitting diode (LED) is the positive pole, and the short leg is the negative pole. First, the long wire of the LED is connected to the black wire (negative electrode) of the battery case, and the short leg of the LED is connected to the red wire (positive electrode) of the battery case. At this time, the light emitting diode (LED) is not lit. Then send it over again, let the long leg of the LED connect to the red line of the battery box, and the short leg of the LED is connected to the black line of the battery box. At this time, the LED lights up, indicating that the LED is in one-way operation and the single-pass characteristic of the diode .
Step 2: In the circuit of the experimental step 1, a resistor of 220 ohms is inserted in series, and the brightness of the LED lamp is lowered, and the resistance hinders the current.
Step 3: Connect a 220 ohm resistor in parallel with the resistance in the circuit of the experimental board 2. The brightness of the LED is increased, indicating that the total resistance of the resistor in the circuit is reduced after the resistors are connected in parallel.
Step 4: Change the two resistors of the experimental step 3 from parallel to series. After the series connection, the brightness of the LED lamp is the lowest. After the series connection of the resistors, the total resistance of the resistor in the circuit increases.
Step 5: Replace the original resistor with a potentiometer. The potentiometer has 3 feet, and the resistance of pins 1 and 3 is fixed. The resistance of pins 1 and 2, 2 feet and 3 feet can be changed by adjusting the potentiometer knob. When experimenting, you can pick up 2 of them. The foot has to experiment many times, adjust the potentiometer knob to observe the change of LED brightness, so that you can fully understand the potentiometer.
Step 6: Know the self-locking. Press and wait for the light to be on, then press the light to turn off.
Package included:
1 x DIY LED Dimming Lights Technology Small Production Kit


Electronic DIY LED Dimming Lights Series and Parallel Circuit Technology Small Production Kit See detail


